filmmaking-lighting-corporate-video

author: @aestranger

Reading time: 6 minutes

4 things you need to do and think about when lighting for a corporate video: Filmmaking 102

I bet you’re very much like how I used to be, you go through Google trying to find various articles or how to guides to help improve or inform how to do something just right.
Usually, because you’ve got some big project you need to prepare for or because you believe that maybe this one might be the one that gets you to that point.
And I bet that once you’ve gone through everything, you feel like your knowledge has simply been reaffirmed and you’ve not actually gotten closer to what you wanted.

Well, hopefully, these blogs will help you. As you can tell this is the first of a series of blogs on some simple filmmaking tips that should help you get a little closer to what you want.
This one is on lighting. And I’m not going to go into massively expensive lighting setups, how best to create them, along with a list of where you can buy super expensive 650w to 1200w lights.
Nope, I’m going to go through what I learned while being a corporate filmmaker with almost no budget and a 2-man team (myself and a colleague). I think that’s a good starting point because you can always scale up.

Disclaimer: For this blog, I’m going to assume you know basic f-stop exposure, that your camera has a decent light latitude on its sensor (between -7 to +7 at least). And that you understand color temperature.
If none of these are familiar, then please do drop me an email and if I get enough response I’ll write some more 101 & 102 blogs on those and other filmmaking aspects.

1. So, you’ve got the camera, now you need the location…

Lighting is all about location. I’m going to assume you don’t have a fully equipped studio available because if you did, you wouldn’t be reading this. You’d be there, filming something with all the lights available to you.

Rather than giving you an analogy of a possible location that I’ve used but you might not use, I’d rather set a few base questions and try to answer them. So that you too can figure out what is at your location and what isn’t.

  • Is there natural light coming into the room?
    • If so, then what time of day will you be filming?
    • Will it is cloudy or sunny?
    • Will the sun be hitting the window directly or not?
  • Is there any artificial lighting?
    • If so, how strong is it?
    • Could you use it?
    • What type of lights are they?

These 2 tiered questions should help you in determining how effective your lighting will be and type of lighting you can achieve.

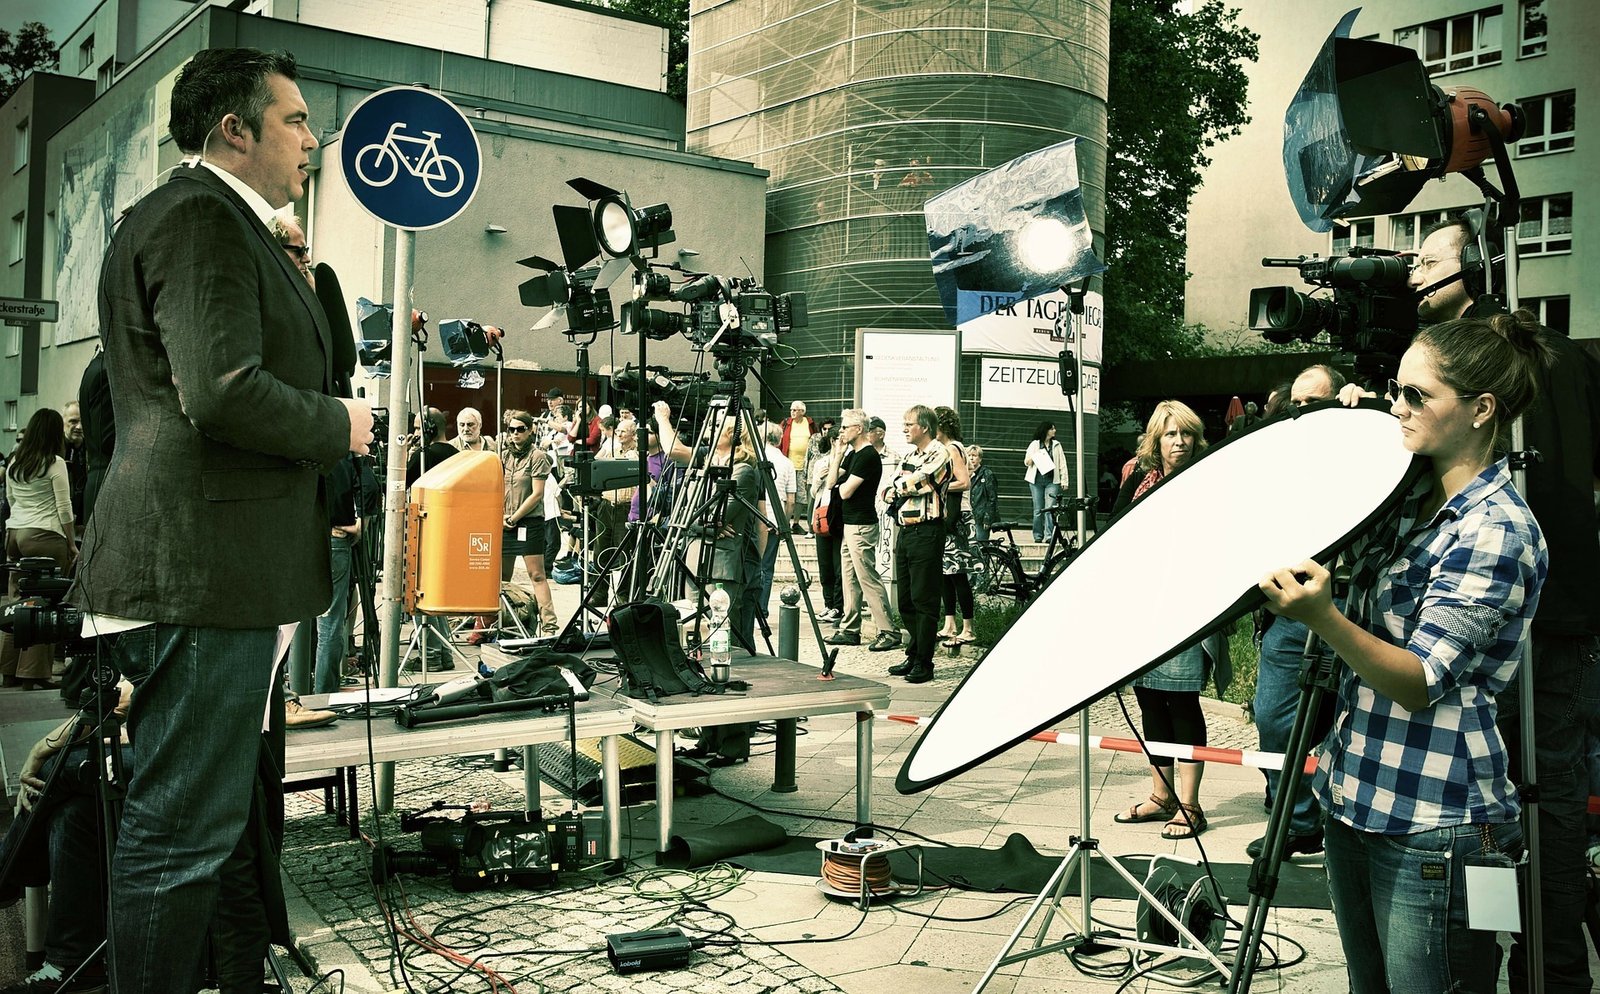
Let’s assume you have almost no budget, so you can’t buy fancy lights like leds or 650w Tungsten lights. All you have is what’s available at the location, the sun, room lighting, etc… So a bounce board is one of the first things you’ll want to get. You can easily get a white or silver reflector off of ebay.com for very little money. And if that’s still too expensive, then just buy a piece of 1.5m x 1.5m Styrofoam and tape the edges with duct tape. The duct tape is to stop it falling apart after excessive use.

A reflector is your best buddy when it comes to low-budget lighting because you can always fill in with it. Regardless of whether you’re outdoors or indoors. Many starting filmmakers tend to forget this and struggle with lighting with the available light.

If you are lucky enough to have some budget left over or available to you, then I’d recommend buying at least 1 LED light that can scale in Lumosity from about 100w to 650w. There are various sites you can find via google that will convert wattage to lumo scale on a LED if you’re not 100% on what is what.

2. Some basic lighting & location setups

Each location is going to be drastically different from the last and the next location you go to. Therefore, you’re going to need to scout each on and think about where you want to position your subject and what light will hit them where.

For me personally, I’ve always preferred that the subject is seated, in a comfortable single chair where they need to sit upright. This is beneficial for both you and them. There’s less chance of them slouching and perhaps becoming tired and it looks so much better on camera if they are sitting upright in a commanding position. This works for both sexes, and if you’re cutting between medium and wide shots, for both sexes it’s best to have the legs closed or crossed over.

Next, I favor placing the person off center to the right of the screen, so that the looking space is to the left if they are being interviewed. This feels more natural if you read from left to right. If it’s just a straight to camera piece, then a more central framing is a better option.
If you get more comfortable later on with composition, you may want to experiment in how you place the subject in the foreground in relation to the objects in the background.

Now that you’ve placed the person in the location, the first go to lighting setup for you is the 2-point lighting setup. As the name suggests, you have 2 light sources that light the subject.
One is called the Key light and the other is called the Fill light. The Key is your main light and fill is to fill in any harsh shadows that the Key light creates.

Now we bring in the answers to whether there was sunlight or not. If there wasn’t, then hopefully the room lights are enough to expose or you have the LED light with you. But if you do have the Sun, then either case still fits the basic 2-point lighting model, as the strongest light (i.e. the Sun) is your Key light.

If you’ve gone with the off-centre to the right setup, then make sure the Key light is hitting the face of your subject straight on. Use your reflector on the other side of the subject to fill in any shadows that the key light has created. And Voila, you’ve now managed to make a basic 2-point lighting setup with either no lights or with 1 light. Your wallet will be very pleased.
A 3-point lighting setup is similar, but you’re adding in either backlight or background light. The backlight, lights the back of the subject creating a slight halo effect, which is quite useful for female subjects. And the background light is if you’re lighting something behind the subject that you’d like the audience to see.


3. Using what’s available to you

Now whether you have the key light either to the left or right of the subject is completely up to you. As I said, I prefer the person on screen right and the Key light coming from screen left. But obviously, this isn’t everyone taste, and more importantly, may not be possible at your location. So, go with what is possible and looks right.

You may also be thinking, well it’s a very small location, and it’s tough to fit everyone in, let’s just got with a 1-point lighting setup. I’d recommend that unless the reflector or other light gets into the shot, always, Always use a 2-point lighting setup. And this is specifically for corporate video. High contrast shots look cool but are more motivated by the narrative. Most corporate people want to look good on camera, and a key plus fill light help you achieve that for your subject.

A quick cheat and tip if you do have the benefit of the sun or LED as your key light, and you have other room lights available, is to use one of them as a background light. Grab a small table lamp and place it in the background to create a specular light point. With a nice shallow depth of field, this can create a quite aesthetically pleasing composition for the background shot.

4. The art of lighting & composition

Effective lighting is all about how you compose your scene and shot. So once again, know your location. If you know how and where the light falls, you’ll have a better idea of how the shot can be set up and divided into interesting points for the audience to look at.

There’s nothing more boring for an audience member than to look at a flat background that you created. Thus, also make sure you have enough distance between you, the subject and the background. A good rule that I always used was the 2-thirds rule.

If you imagine that the distance between you and the background is divided into 3 parts, then have the subject 2 thirds away from the background, and roughly 1 third away from you and your camera. This will give you a decent depth of field for your background, making it more cinematic, and you can maintain a good frame on your subject. (This assumes that you are using a prime lens, like a 24mm or 35mm. A 50mm can still work as well).

All these little tricks, hints and rules are there to help create the illusion of a much larger lighting setup, drastically improving the look and suspected production value of your shoot.

I hope this quick little piece helps you in some way to improve the look and feel of your corporate videos. If it was helpful and you’d like more then please comment or email me and I’ll see if I can pump out a few more that help you hack filmmaking.

I hope that this piece has given you some food for thought and helped improve your own methods or at least offered a different viewpoint to consider.

Please do check out the other posts on æStranger.com, and please do leave a comment or contact us if you have some ideas of your own that you wish to discuss or if you would like to see other topics discussed.

Please do Share if you found it helpful and know of someone who would it find it helpful as well.


LinkedIn
Twitter
Facebook
WhatsApp

Leave a Reply

This site uses Akismet to reduce spam. Learn how your comment data is processed.

before you go!

Before you go and grab your copy of Press Start, would you like your free White Paper on how to better engage your audience and other bonuses?

This site is protected by reCAPTCHA and the Google Privacy Policy and Terms of Service apply.

Before you go!

Before you go and grab your copy of Press Start, would you like your free White Paper on how to better engage your audience and other bonuses?

This site is protected by reCAPTCHA and the Google Privacy Policy and Terms of Service apply.